 |
 |
|
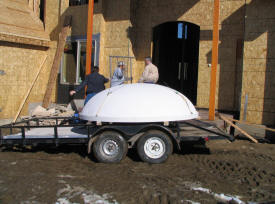
9' Standard Round Dome
arrives for installation. |
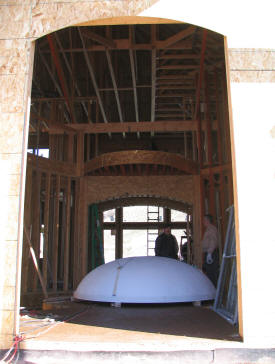
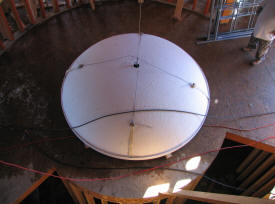
Dome is placed underneath
framing. |
 |
 |
|
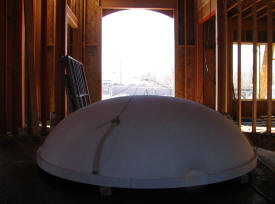
Another view of the dome
placement and special dome strapping (cast into the
product) and tie wires we add for easier
installation and additional support in the ceiling. |
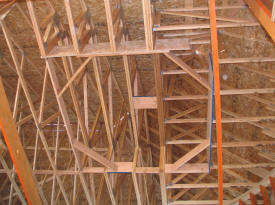
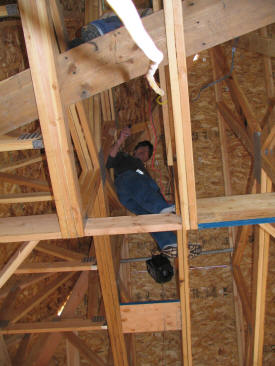
The ceiling framing for this
dome. |
 |
 |
|
To make install easy, we
recommend that you also purchase or rent an appropriate
winch (see the small black box) and cable to securely lift
the dome into place. |
Dome is securely fastened to
the cable and ready to hoist. |
 |
 |
|
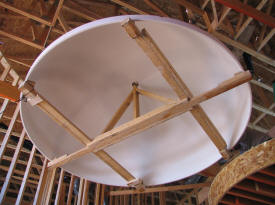
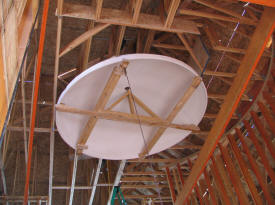
Dome is raised. Notice
the wood framework (hoist gurney) we can add to our larger
1-piece domes to make your lifting easier (for an additional
$150.00). |
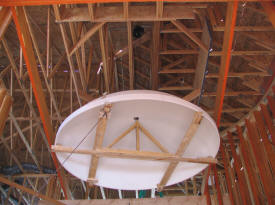
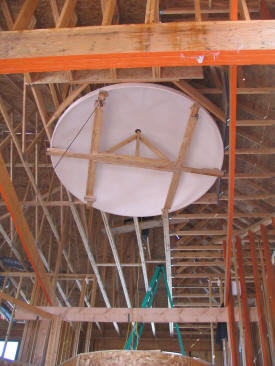
Dome continues to rise.
Notice the small guide rope attached to the wood
framework. |
 |
 |
|
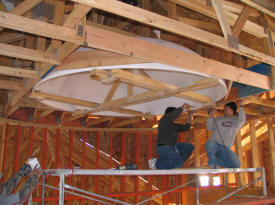
Dome is nearly there! |
Dome fits snugly into proper framing. |
 |
 |
|
Unlike our smaller domes
(see our standard install suggestions for our smaller
round and
oval domes), our 9' dome is a side mount. We
recommend drilling two countersunk holes at each point of
anchor. |
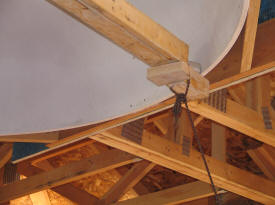
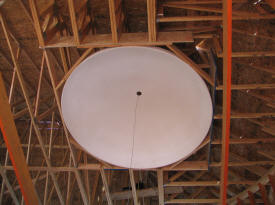
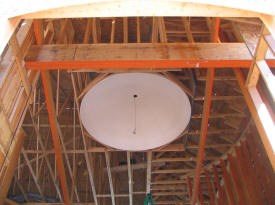
The dome is screwed into the
frame at each
anchor point. We also recommend that you secure the
strapping loop with #9 tie-wire to the structure for
additional support. |
 |
 |
|
The dome is secure.
Scaffolding is removed. |
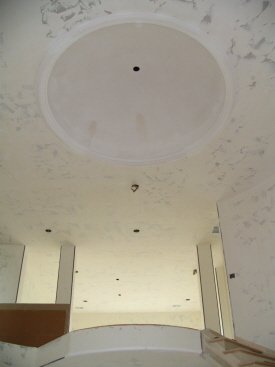
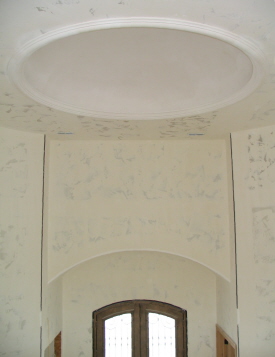
Another picture of the dome
from the doorway. |
 |
 |
|
After drywall, the
matching light cove was added. |
Here is another pre-paint
view from the balcony. |
|
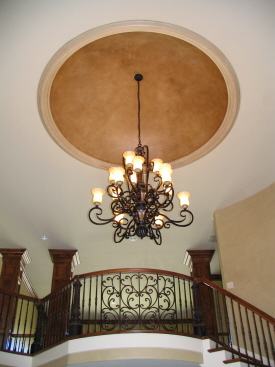
The finished product.
Our domes are paint-grade (i.e. ready to lightly sand,
and apply primer and finish coats). |
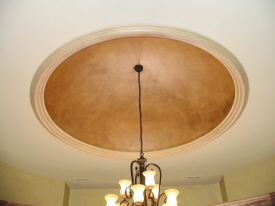
Two views from the
balcony. |